Installation
Install Digital Signage on Sony BRAVIA Pro Displays
Learn how to install Digital Signage on Sony BRAVIA professional displays.
This help page shows how to install Digital Signage on Sony BRAVIA professional displays using an APK copied to a USB drive.
Requirements
- Sony BRAVIA professional display
- Sony remote control
- USB drive formatted as FAT32
- Latest APK copied to the root of the USB drive
- Internet connection
Supported Models
Sony BRAVIA Professional Display range running Android with Pro Mode, which includes:
- BZ30L Series (43”–98”)
- EZ20L Series (43”–85”)
- BZ40H Series (55”–85”)
- Legacy Android-based models such as the BZ35F and BZ30J Series are also supported for existing deployments.
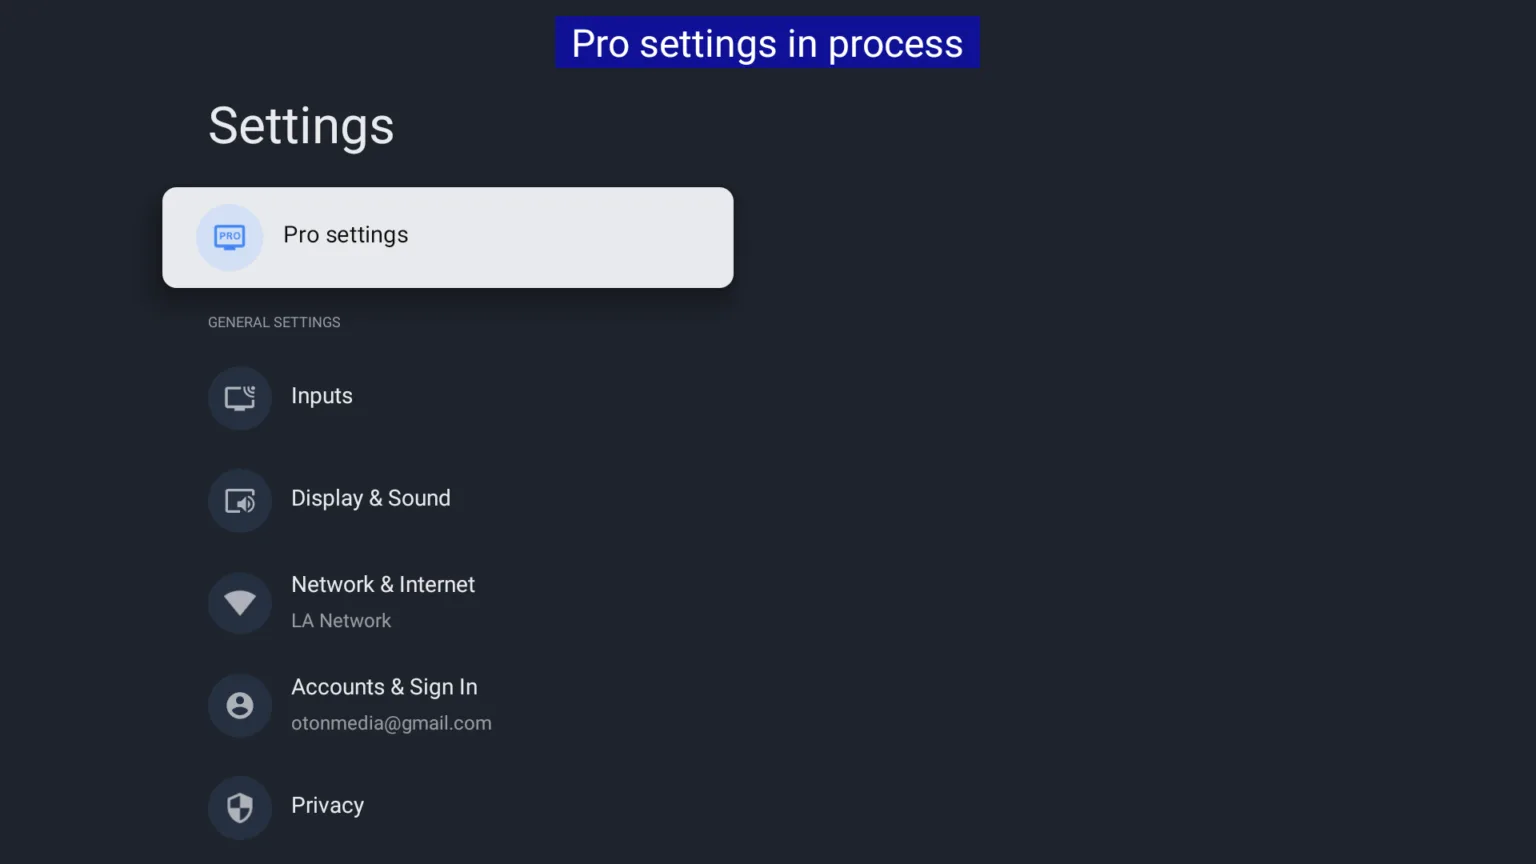
Enable Pro Settings
- Open the Sony Settings menu.
- Go to Pro Settings.
Install Digital Signage
Step 1 - Prepare the USB drive
- Download the latest APK from Download APK.
- Copy the APK file to the root of a USB drive formatted as FAT32.
Step 2 - Insert the USB drive
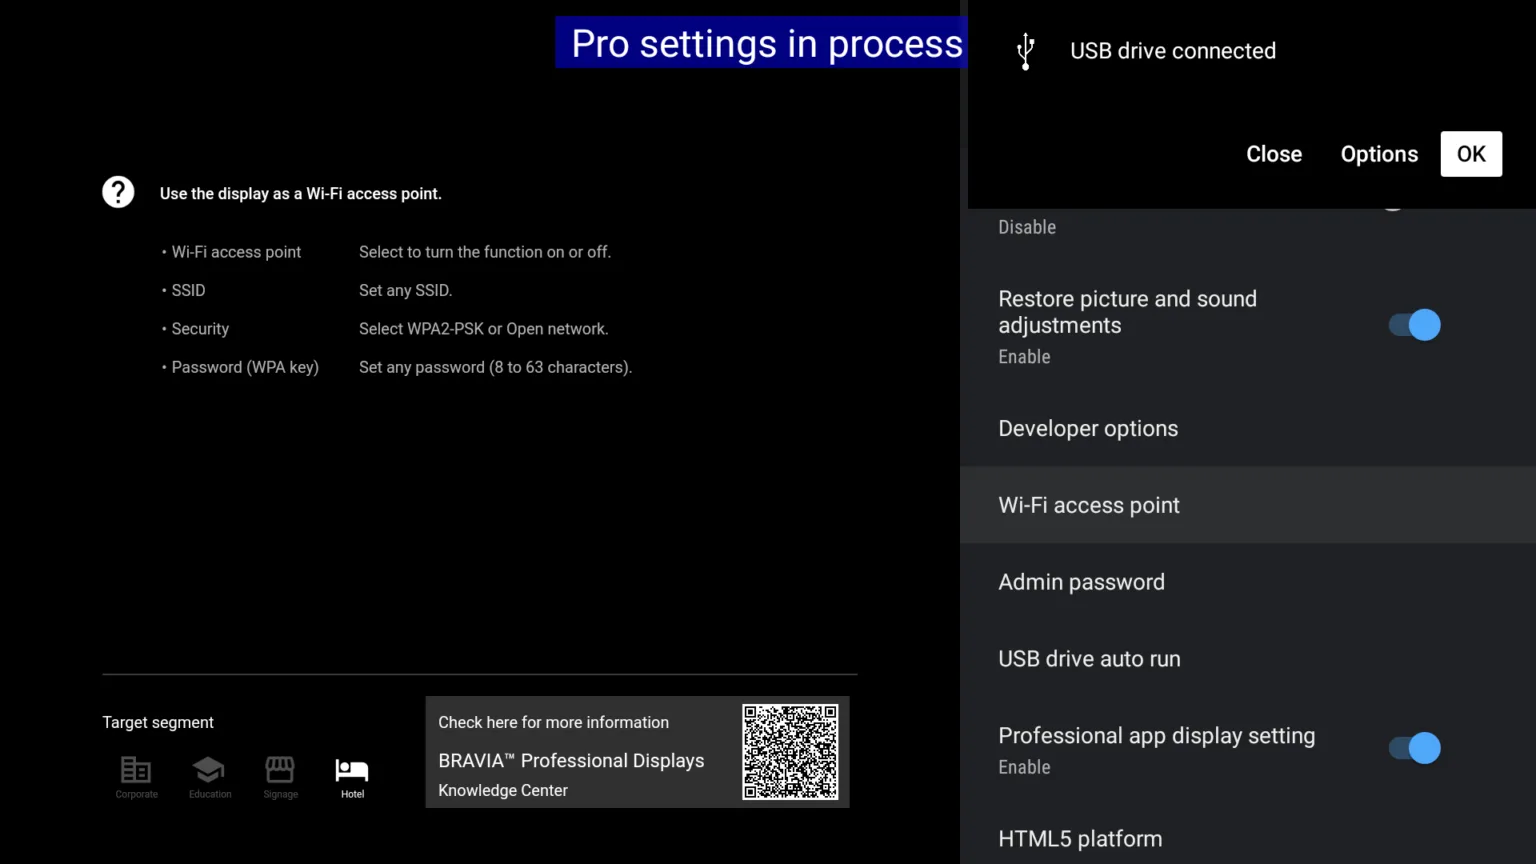
- Insert the USB drive into the USB port on the Sony display.
Step 3 - Install the APK
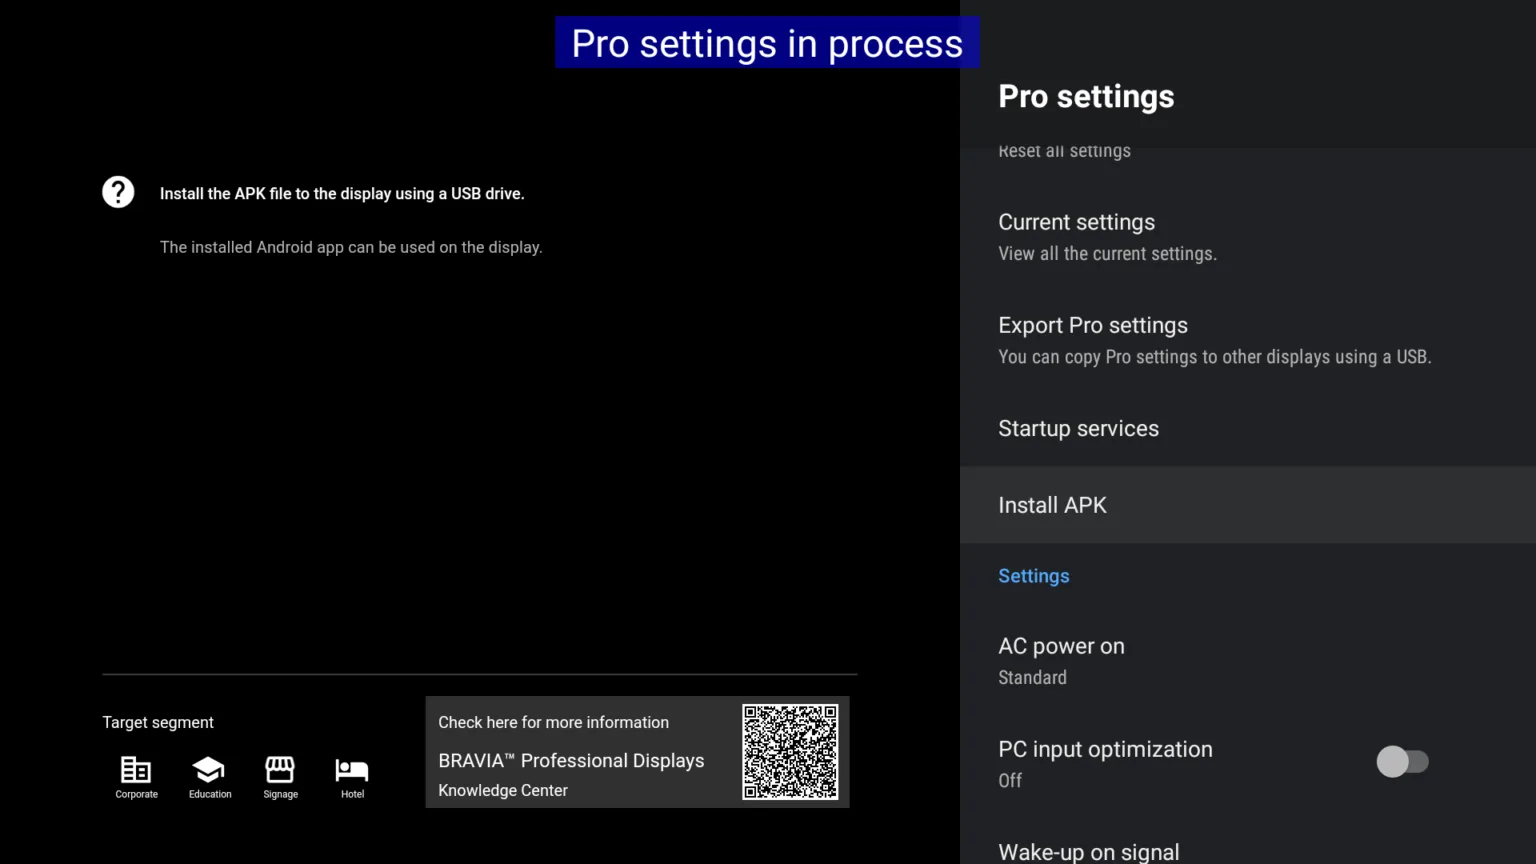
- In Pro Settings, select Install APK.
- Choose the APK file from the USB drive.
- Press Install and wait for the installation to finish.
Start sonopto.signage app
- Open the digital signage app after installation.
- Wait for the screen hash ID to appear.
- Add the screen from your content management console.
Basic Pro Settings
Use these settings to make the digital signage app start cleanly in Sony’s Pro mode.
Step 1 - Open Pro Settings
- Press the HOME button on the remote.
- Open the Settings gear in the top right.
- Select Pro Settings.
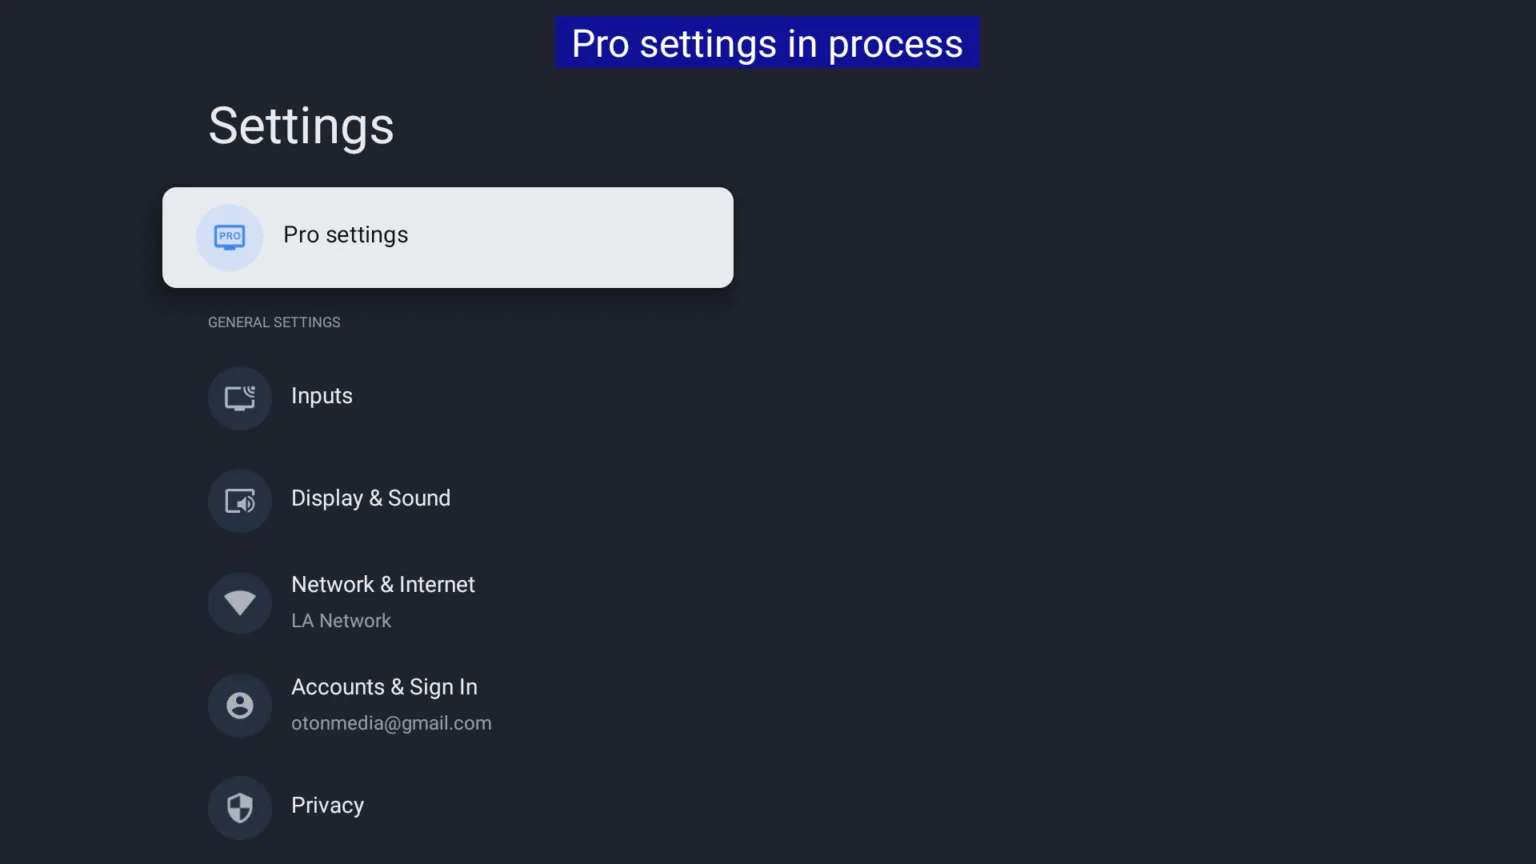
Step 2 - Enable Digital Signage
- Open Apps in Pro Settings.
- Find Digital Signage and select Enable.
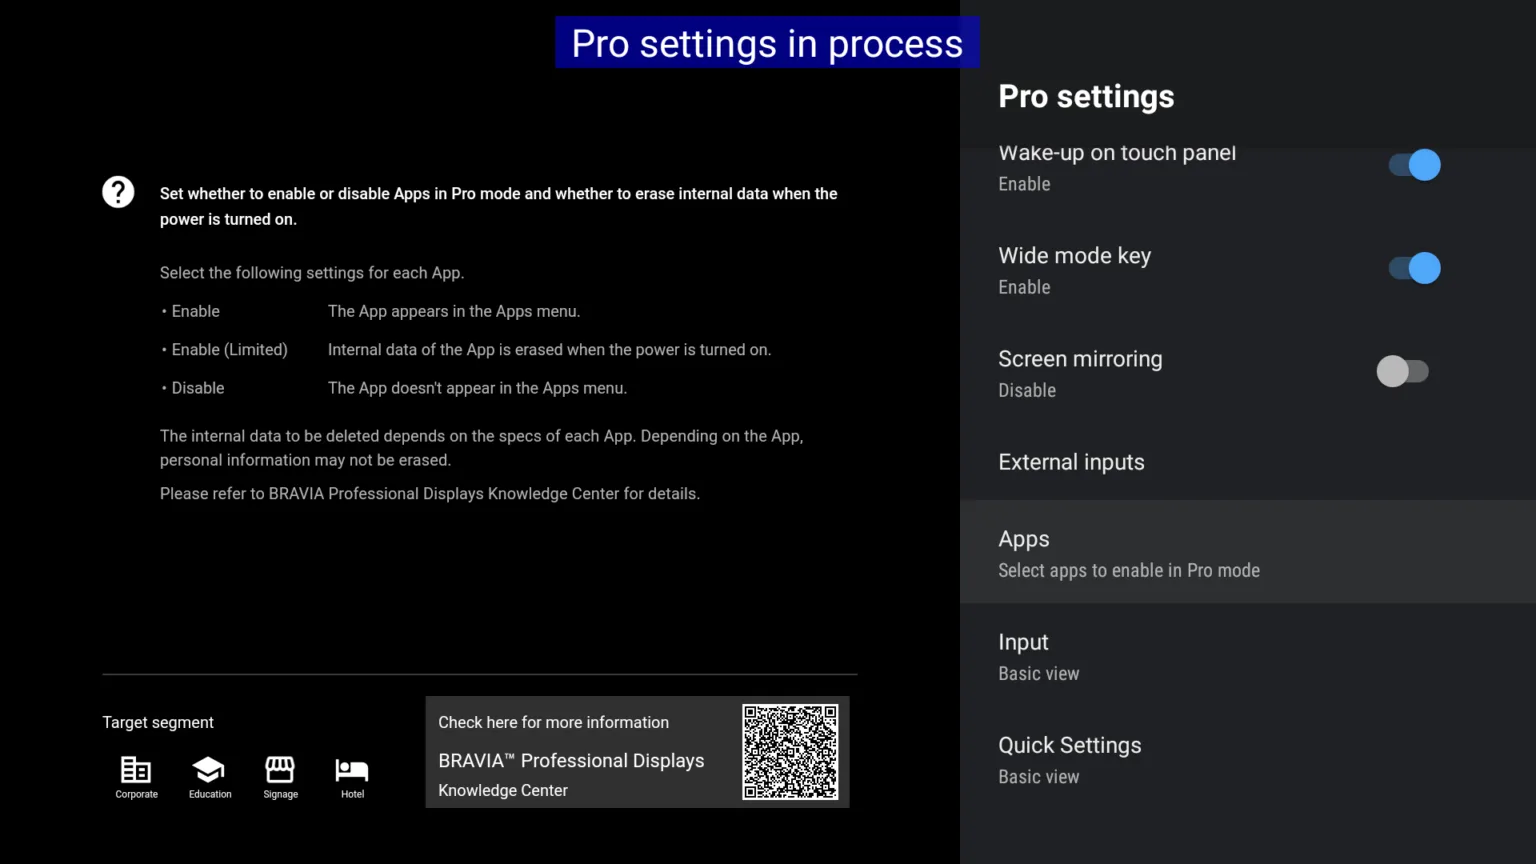
Step 3 - Set the input source
- Go back to Pro Settings.
- Open Initial Input Source.
- Select Android App.
- Choose Digital Signage from the list of installed apps.
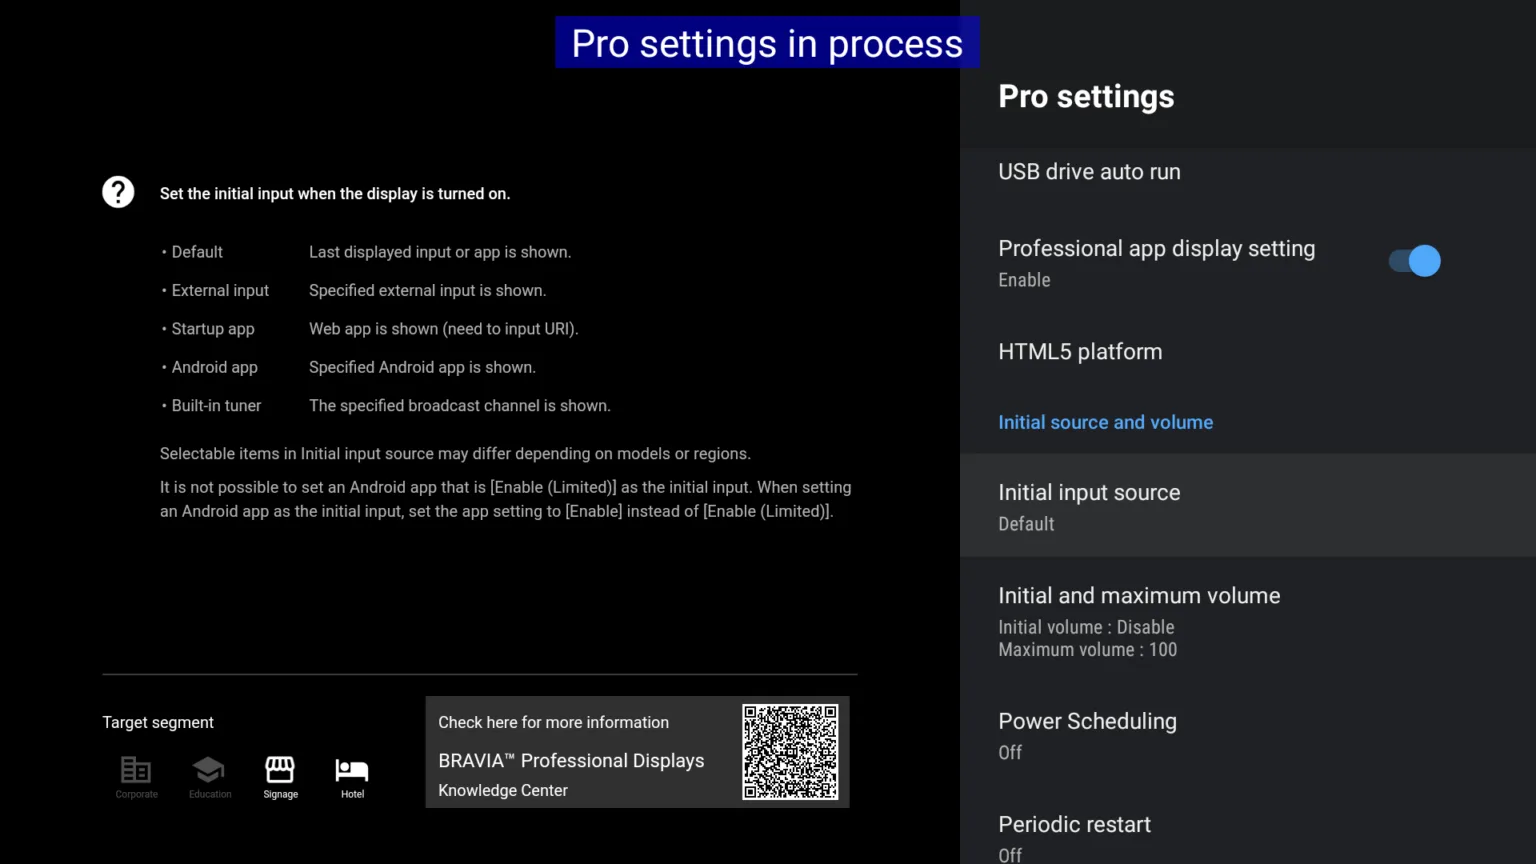
Step 4 - Finish setup
- Confirm with OK.
- Select Start Pro Mode to reboot the display and apply the configuration.
Additional Settings
These settings help keep the display on and recover after power interruptions.
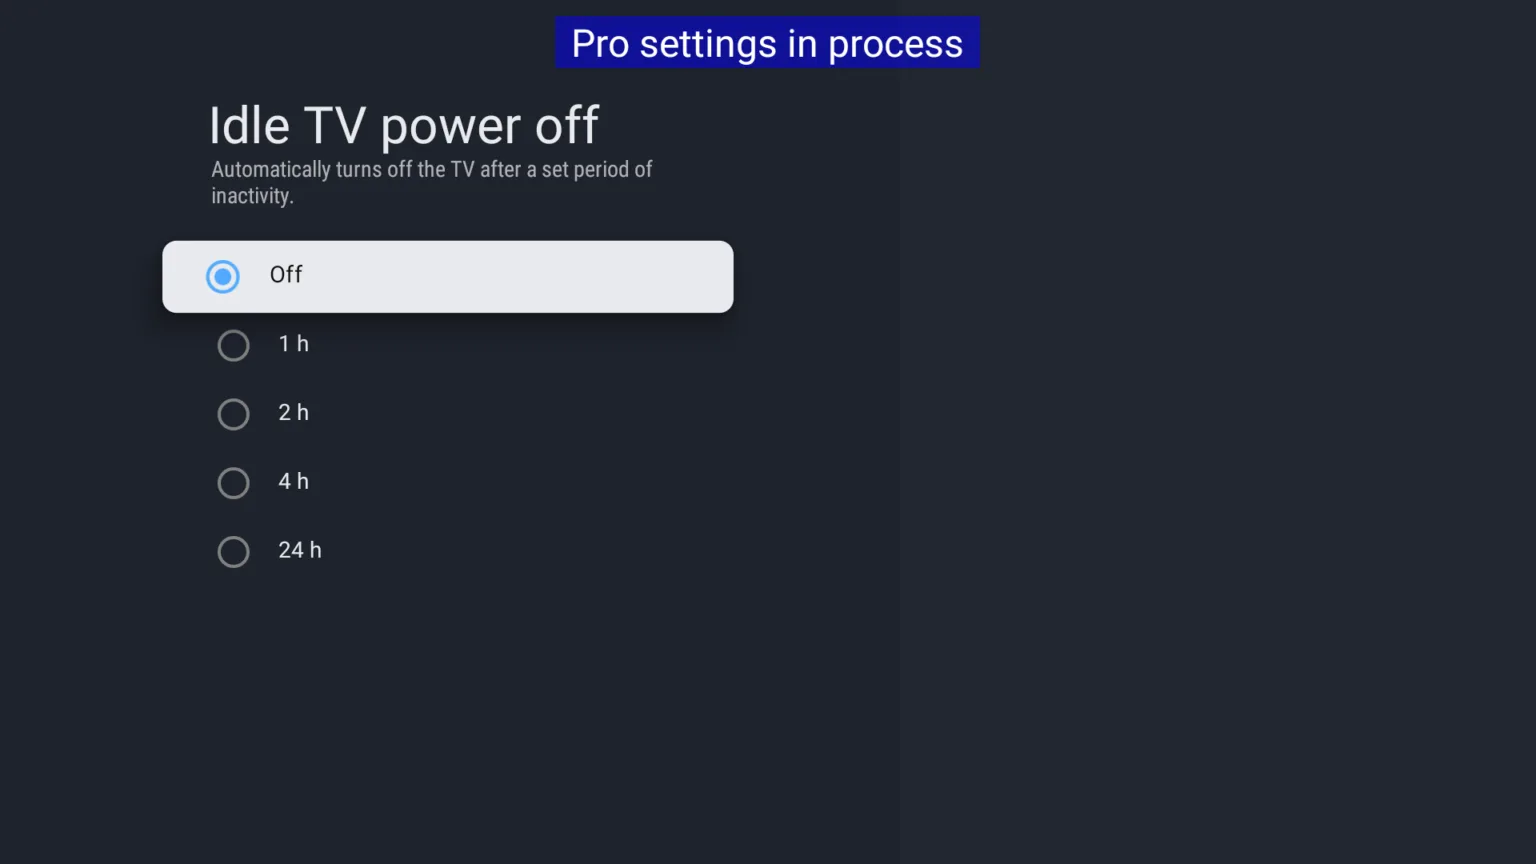
Disable power saving mode
- Press the HOME button on the remote.
- Open the Settings gear in the top right.
- Select Power & Energy.
- Open Idle power off.
- Set it to Off.
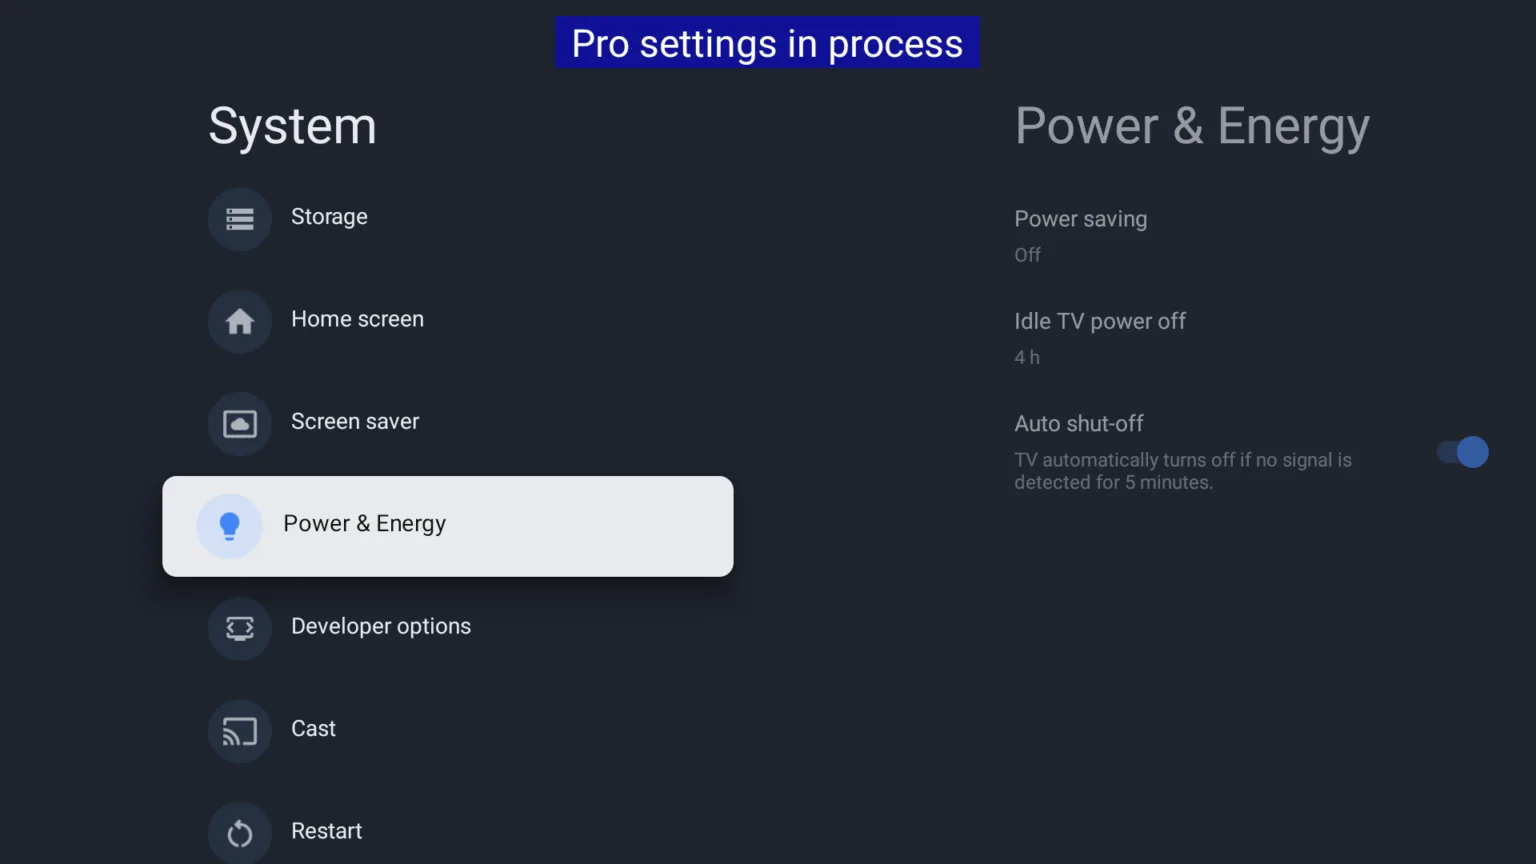
Time controlled on and off
- Press the HOME button on the remote.
- Open the Settings gear in the top right.
- Select Pro Settings.
- Open Power Scheduling.
- Set the on and off times you want.
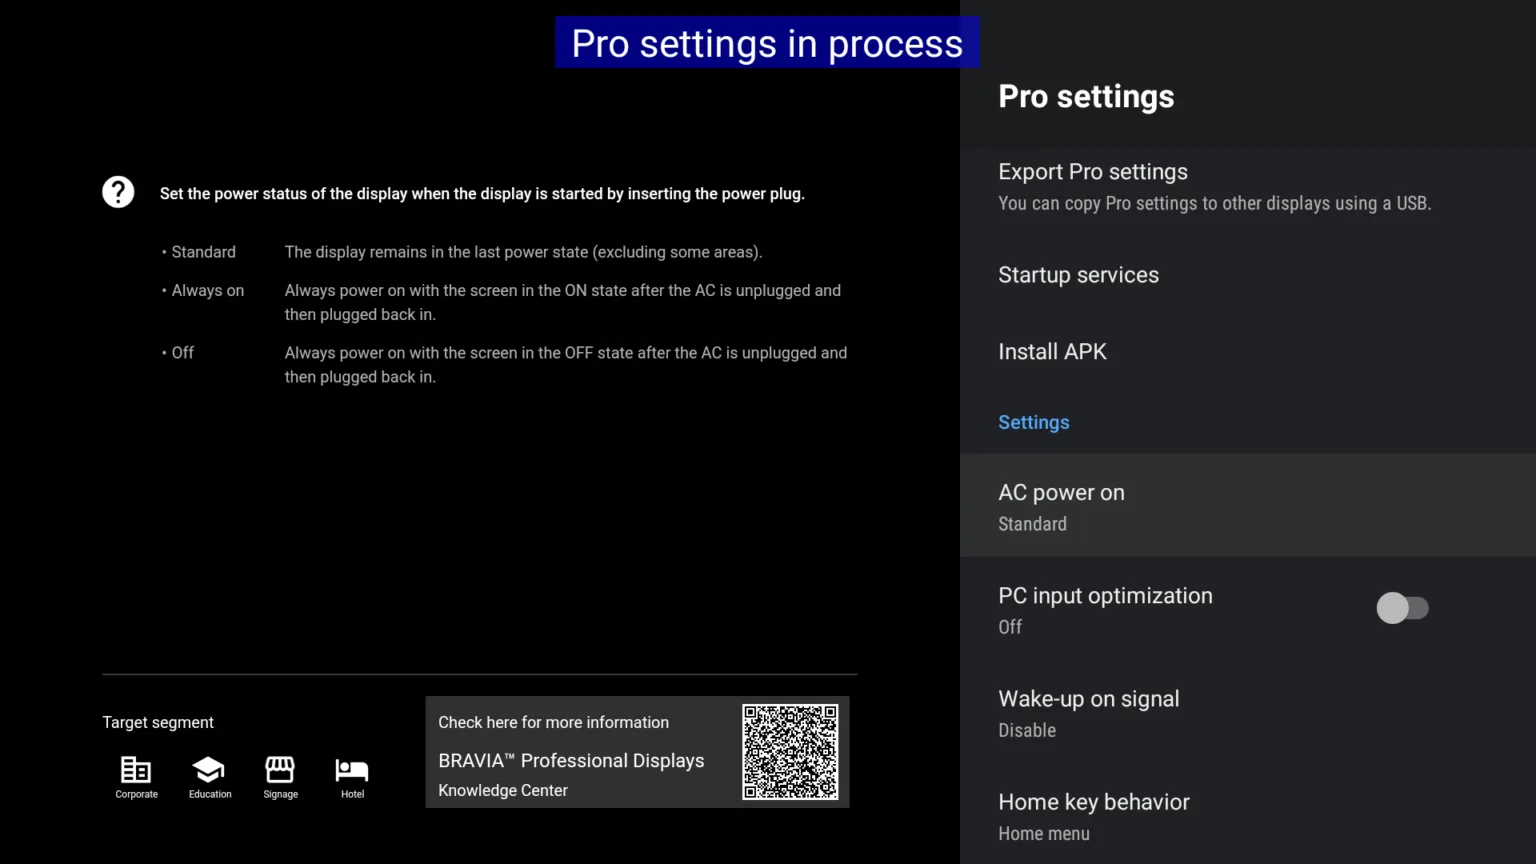
Autostart on power failure
- Press the HOME button on the remote.
- Open the Settings gear in the top right.
- Select Pro Settings.
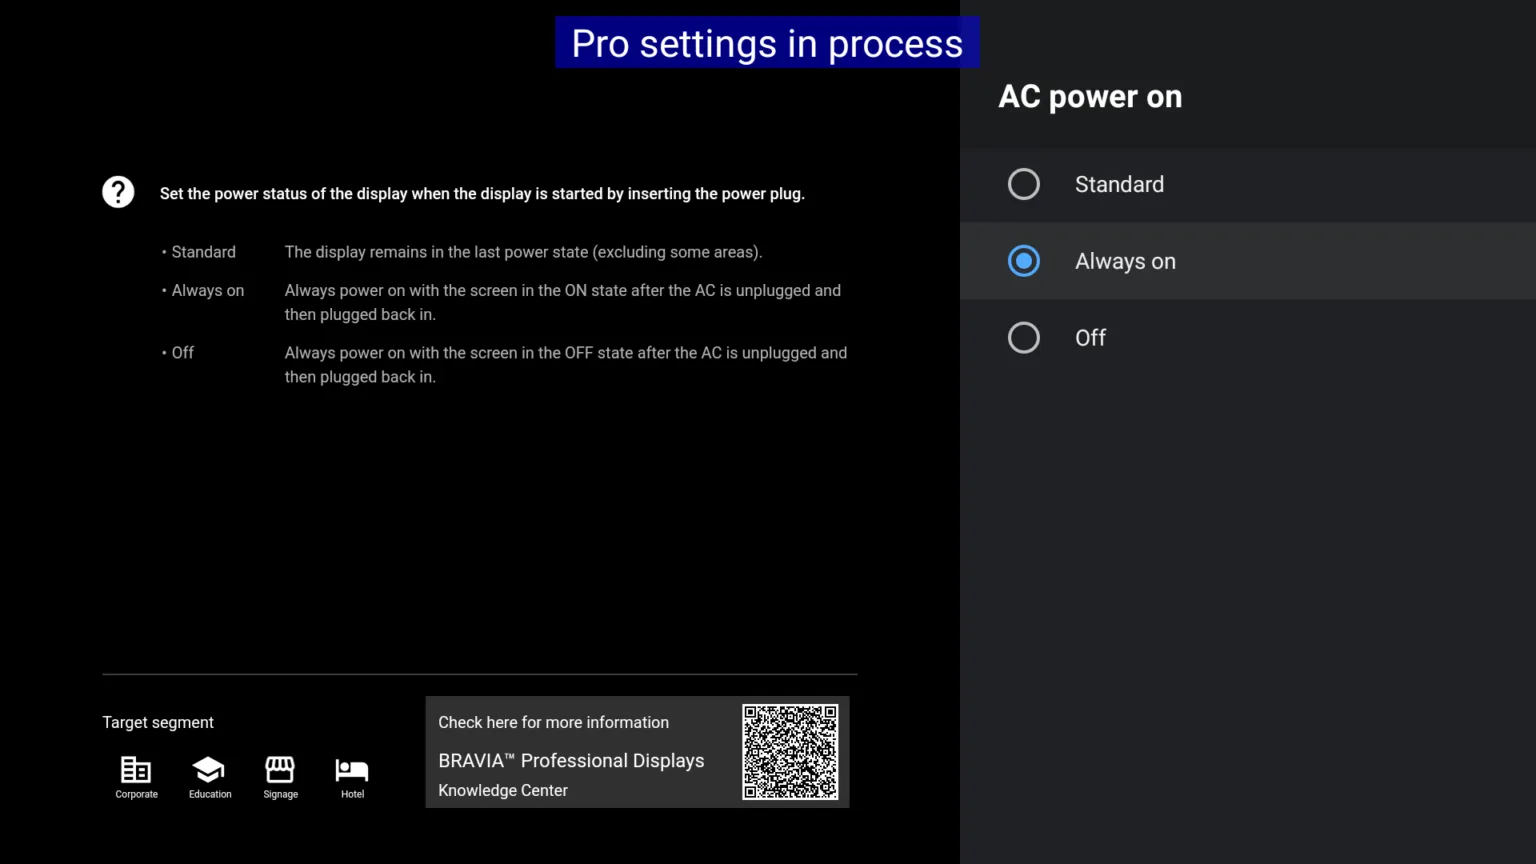
- Open AC Power On.
- Set it to Always On.