Installation
Install Player on Vestel Digital Signage
How to install digital signage app on Vestel screens
This Guide is only intended for Android-based Vestel digital signage screens.
Step 1: Get the APK file
-
Download the latest APK from https://download.cloud-digitalsignage.com/signage-latest.apk
-
Copy it to a USB disk.
-
Plug the USB disk into the TV, locate the USB port on your Vestel TV depending on your model.
-
Press the power button to turn on the TV.
Step 2: Vestel TV Setup Wizard
- When the TV boots for the first time, using the remote control or using a keyboard, choose your preferred language.
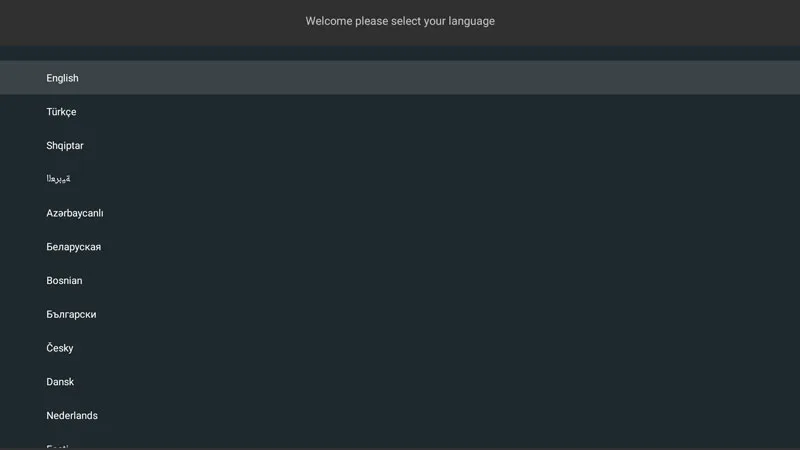
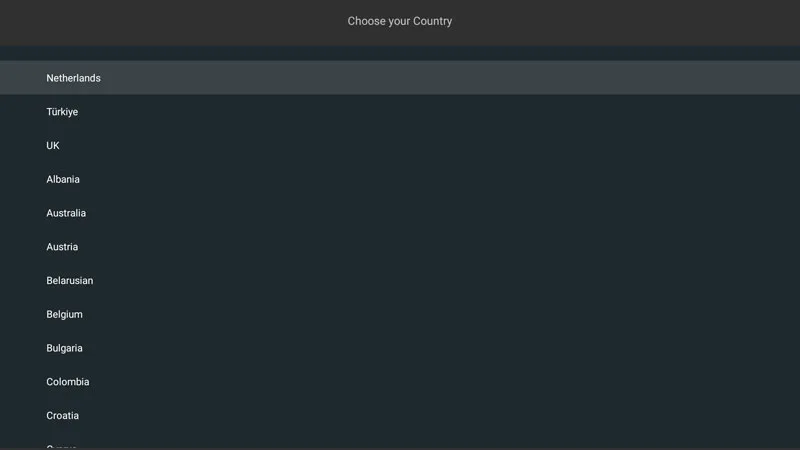
- Choose your Country, or Other.
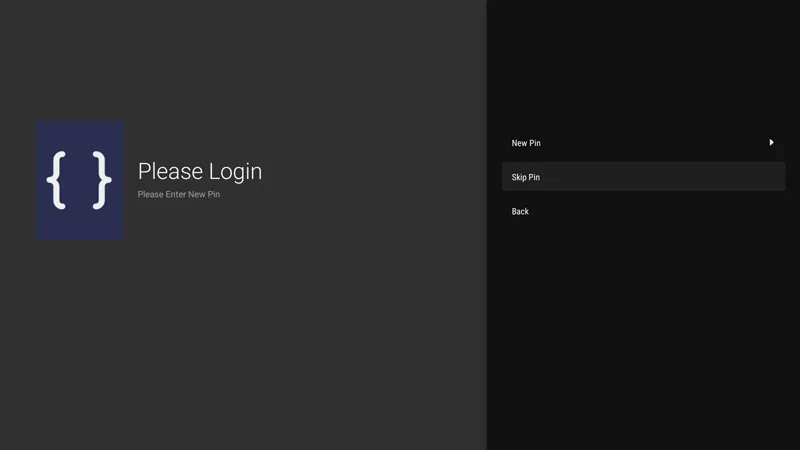
- Choose Skip Pin.
- Choose your preferred Orientation, then Next.
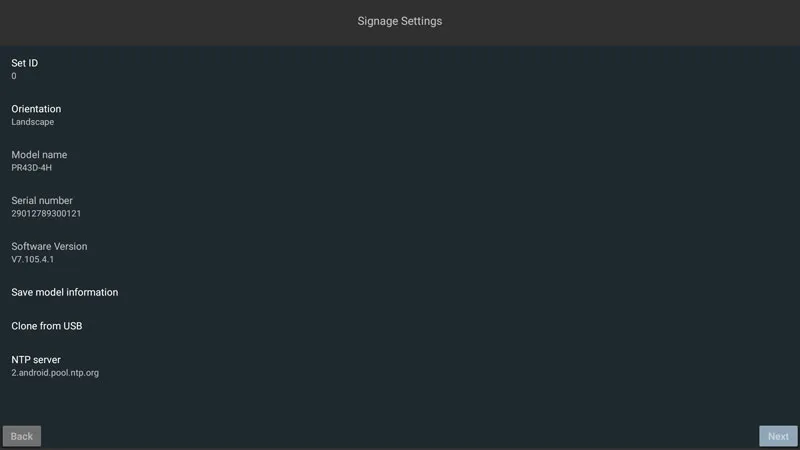
- Keep Auto Launch Disabled for now.
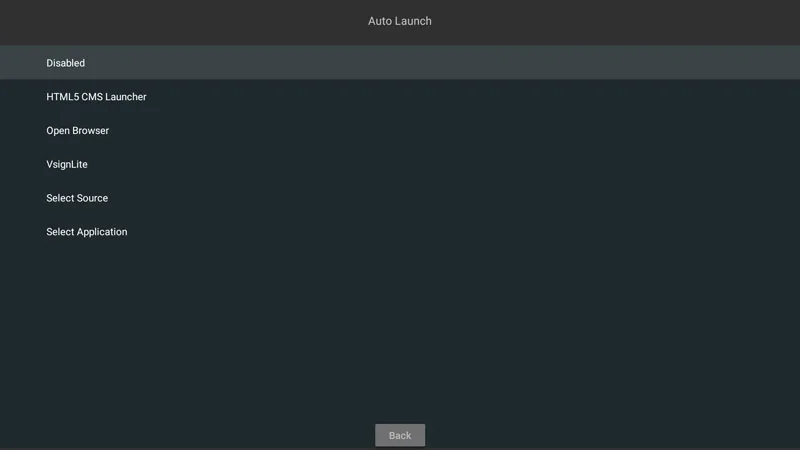
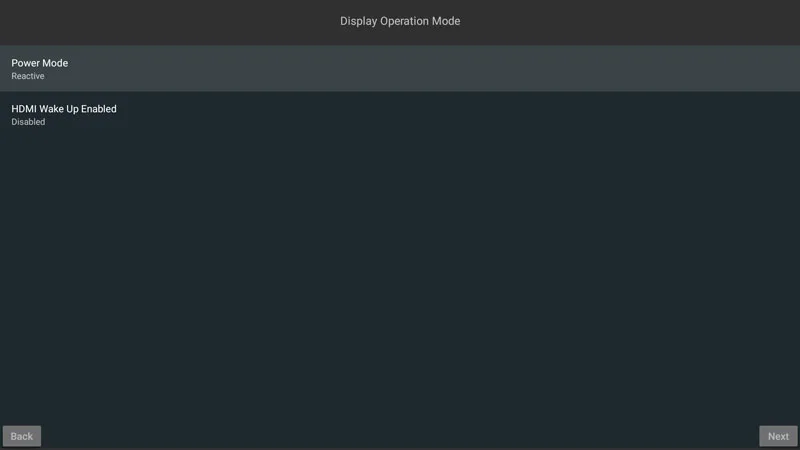
- Set Power Mode to Reactive, this is an important step if Power Management is needed.
- Choose Network Type (Wired or Wireless).
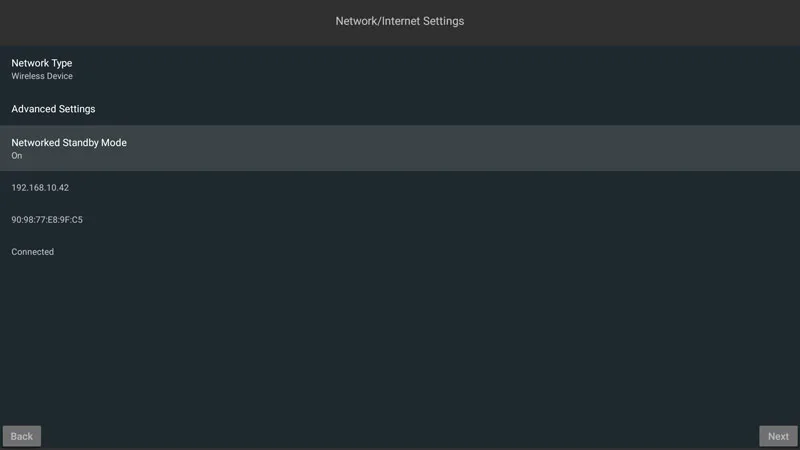
- If You choose wireless, setup your wifi settings,
- Set Networked Standby Mode to On, then Next.
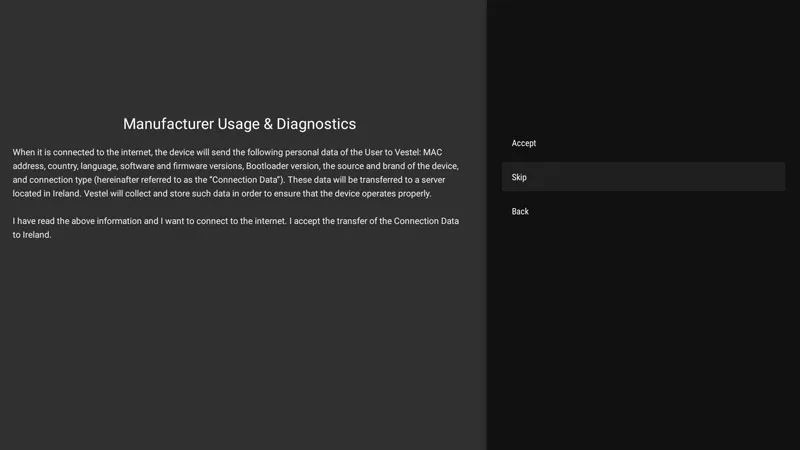
- For Manufacturer Usage and Diagnostics, Click Accept or Skip.
Step 3: Install from USB
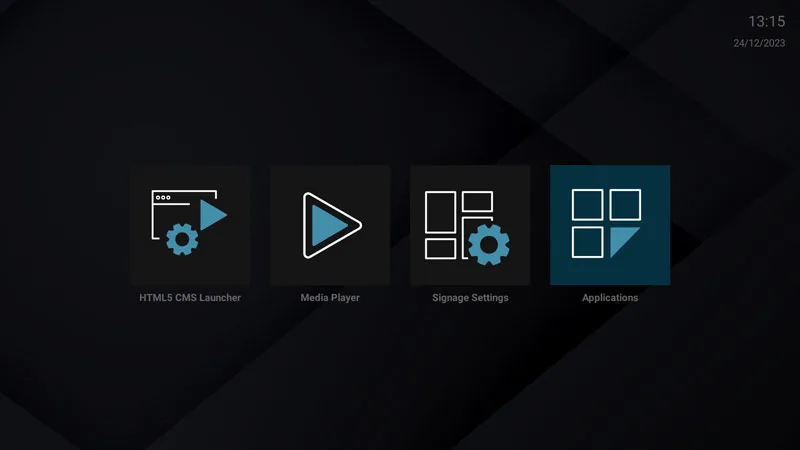
- After the setup wizard, in the menu, navigate to and press on Applications.
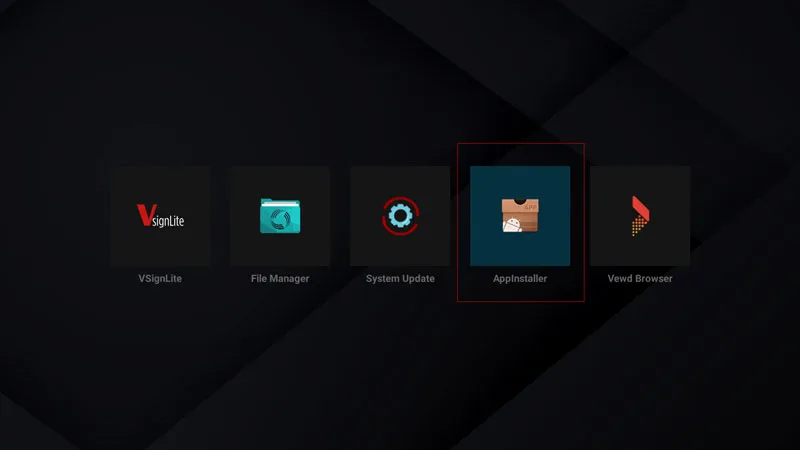
- Choose AppInstaller
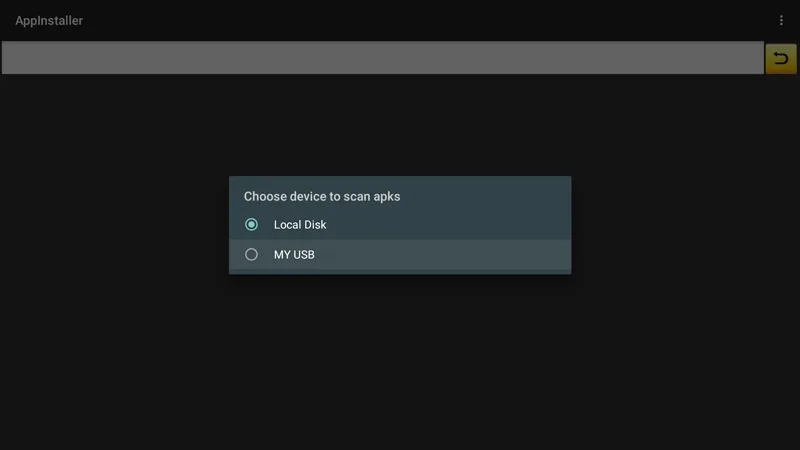
- Choose your USB device.
- Choose Digital Signage file
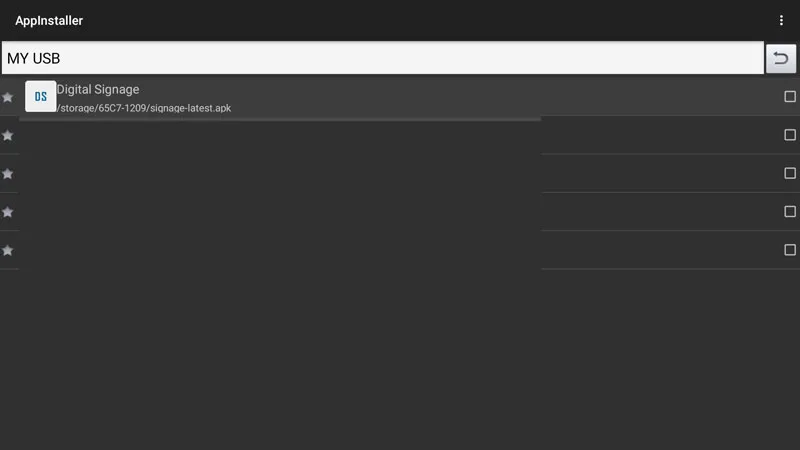
- Press on Install
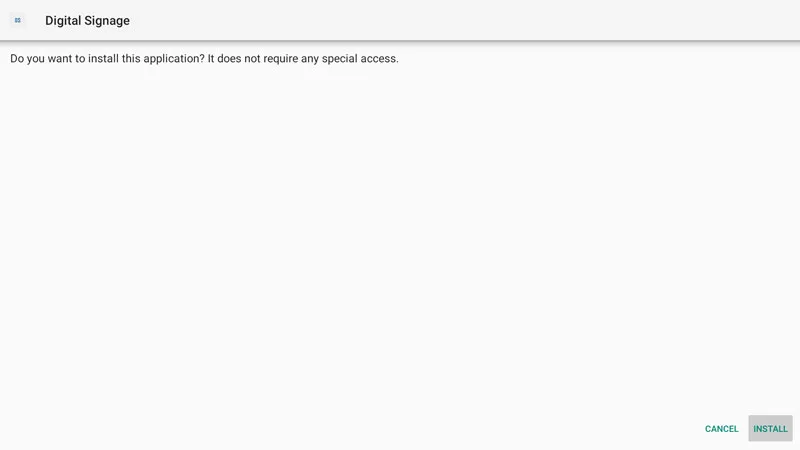
- Press on Open
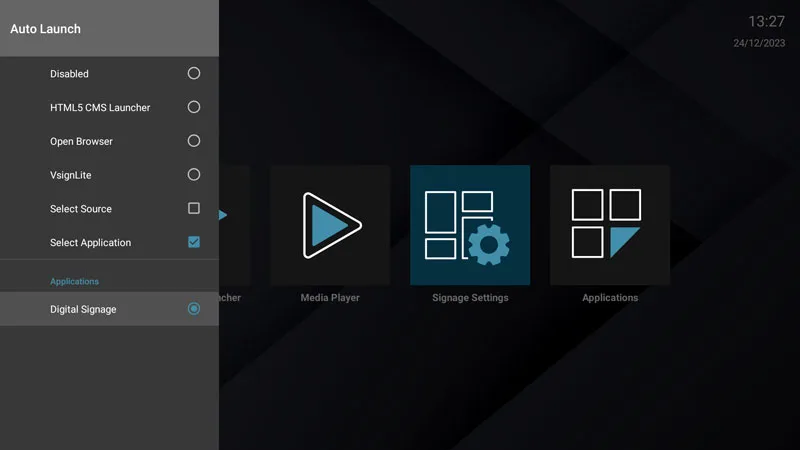
Step 4: Power Up Settings
- Press on Menu from the remote control
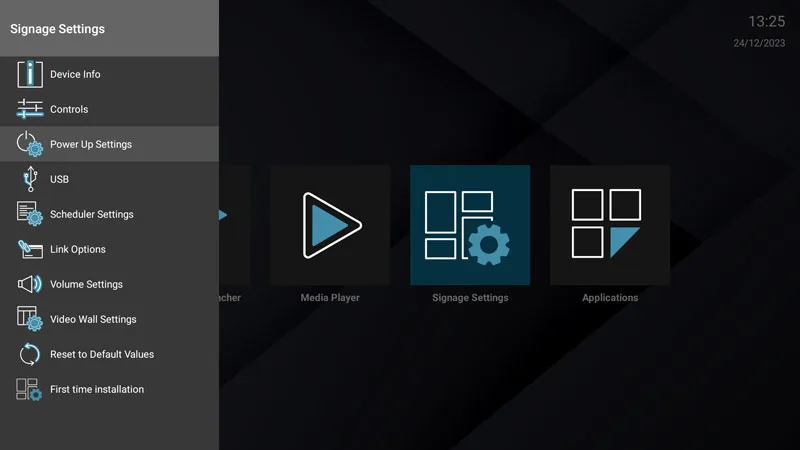
-
Choose Power Up Settings
-
Make sure Power Mode is set to Reactive
-
Choose Auto Launch
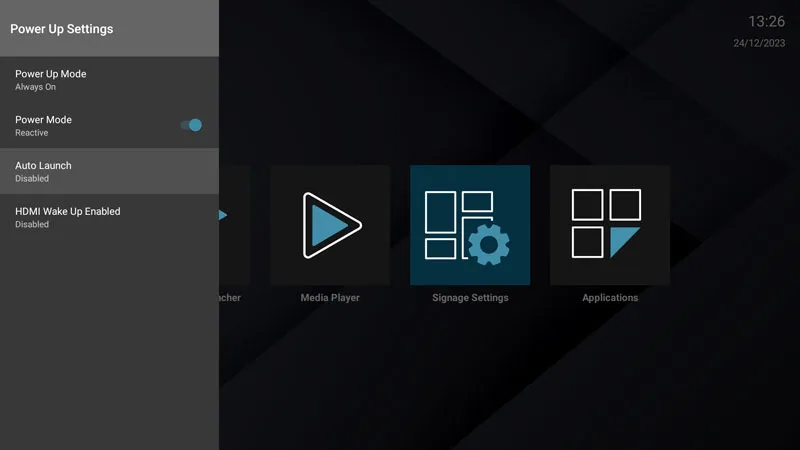
- Choose Select Application, then Digital Signage
Step 5: Display Hash
-
Open the digital signage application
-
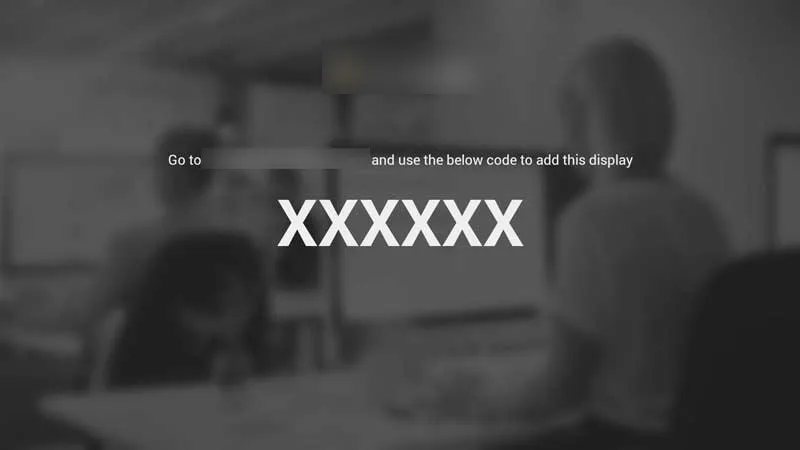
Wait for a few seconds until the screen ID shows as below
-
Use the displayed hash (screen ID) to register the display on your CMS web portal.