Installation
Install Player on Philips Digital Signage
How to install digital signage app on Philips screens
Step 1: Get the APK file
-
Download the latest APK from https://download.cloud-digitalsignage.com/signage-latest.apk
-
Copy it to a USB disk
-
Plug the USB disk into the TV
-
Press the power button to turn on the TV
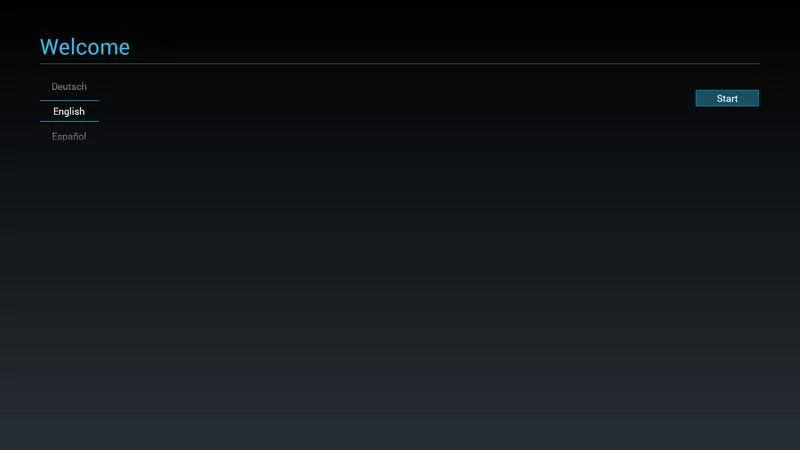
Step 2: Language
-
Choose the desired language using the remote control navigation keys
-
Press Start
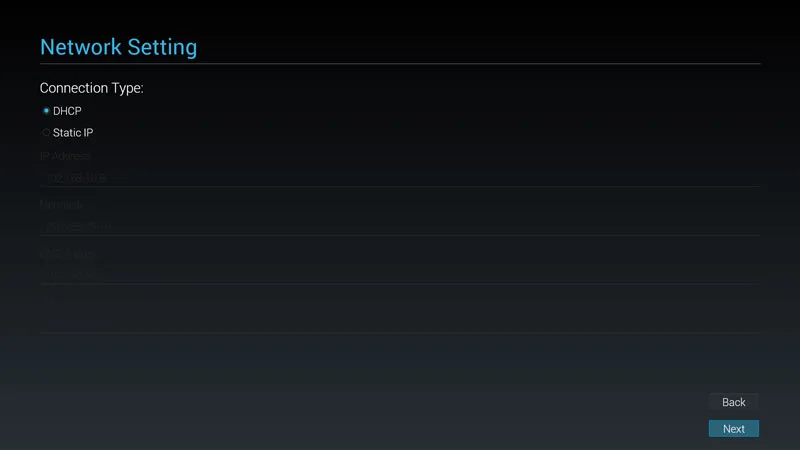
Step 3: Network Settings
-
Choose DHCP in the Connection Type
-
Press Next
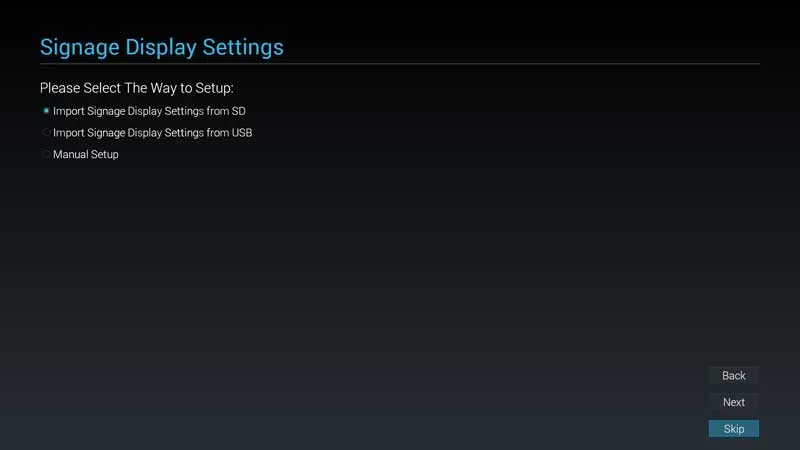
Step 4: Signage Display Settings
- Press Skip
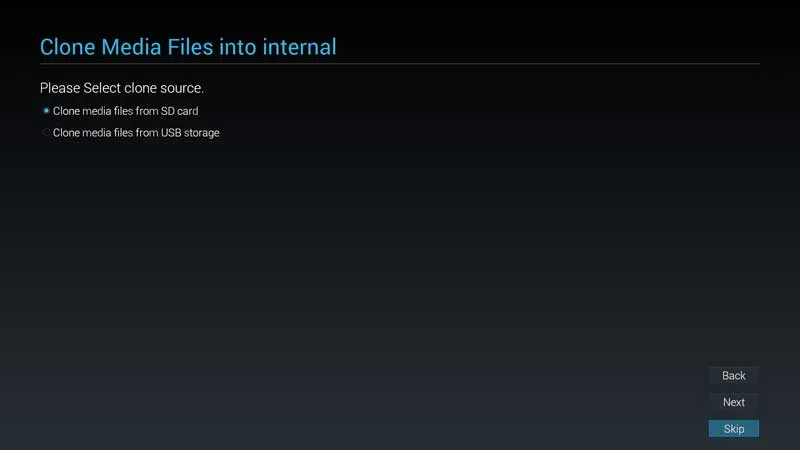
Step 5: Clone Media files into internal
- Press Skip
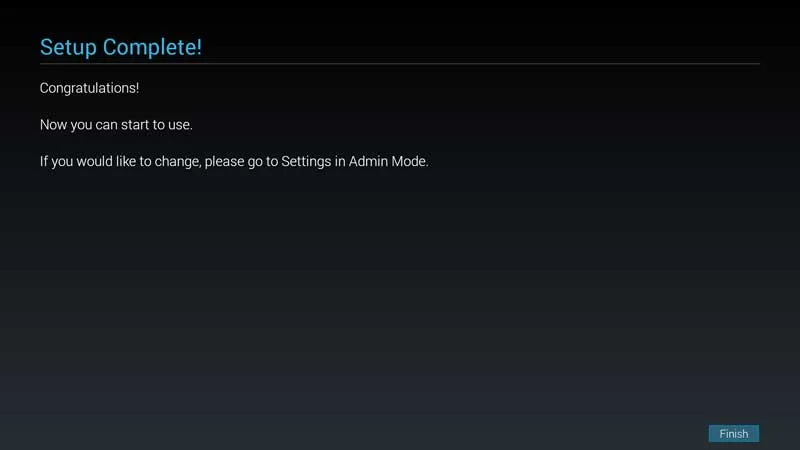
Step 6: Setup Complete
- Press Finish
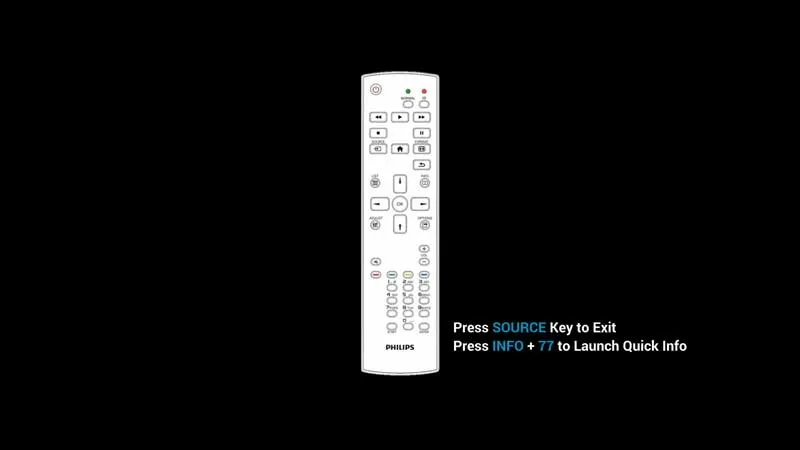
Step 7: Exit Setup Menu
- Press HOME then 1888 to open the settings page
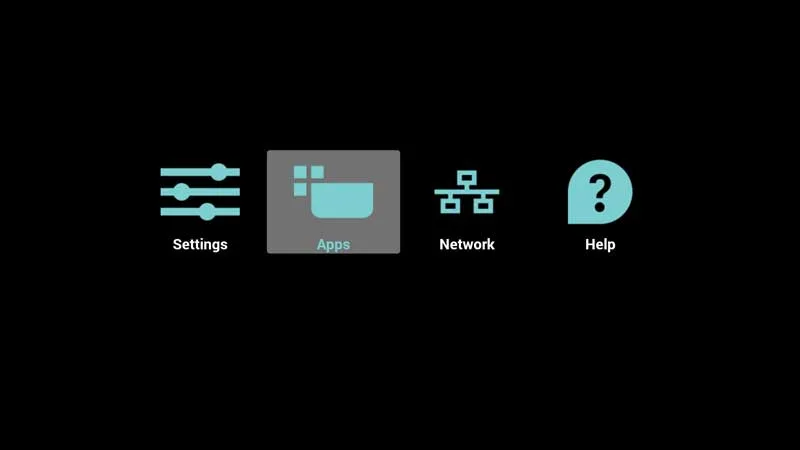
Step 8: Apps
- Choose Apps and Press OK
Step 9: File Manager
- Choose File Manager and Press OK
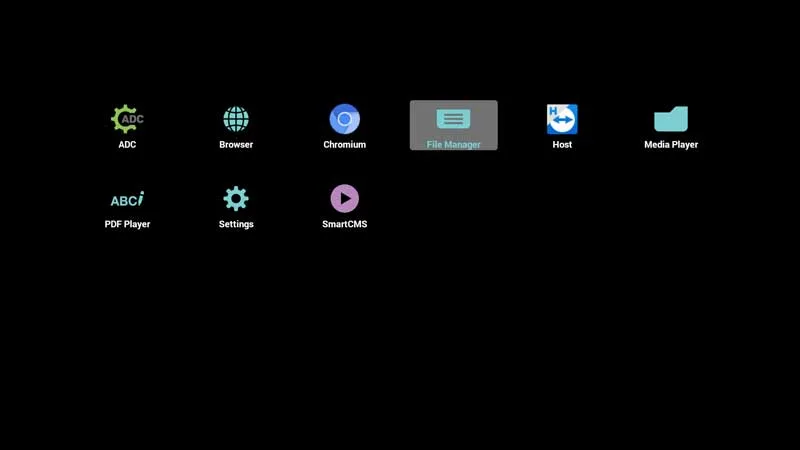
Step 10: mnt
-
Choose mnt folder and Press OK
-
Press on Open
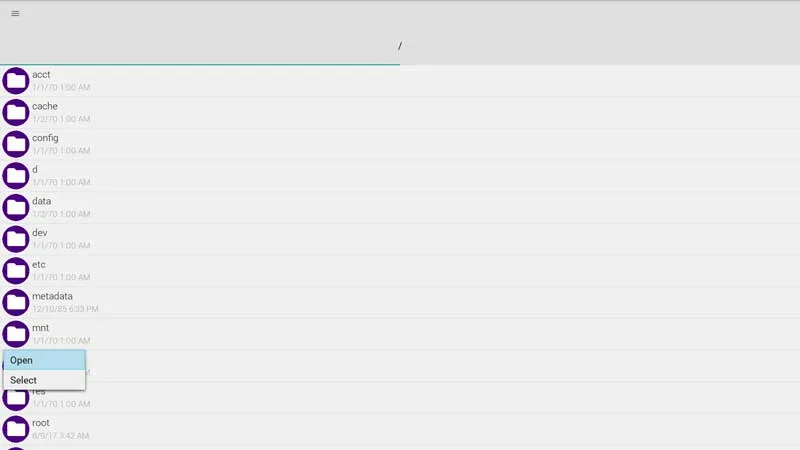
Step 11: usb_storage
-
Choose usb_storage folder and Press OK
-
Press on Open
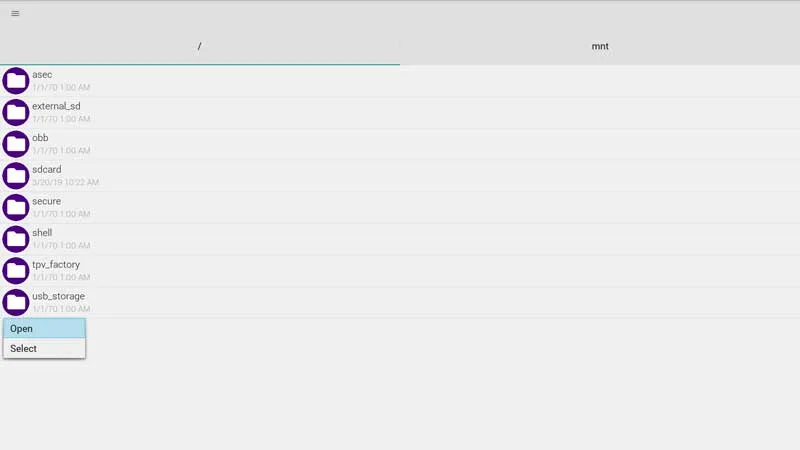
Step 12: signage-latest.apk
-
Choose signage-latest.apk and Press OK
-
Press on Open
Step 13: Install signage-latest.apk
-
Press on Install
-
Wait while the apk is installing
-
The apk is installed. Press on Done
Step 14: Set up the app to start at boot time
-
Press the back button to go back to the apps page
-
In the apps menu, Press Settings
-
Navigate to Signage Display
-
Under SOURCE SETTINGS, Press on Custom App
-
Press on Select App
-
Choose Digital Signage and Press Save
Step 15: Set the screen’s timezone
-
Using the remote control, press the home key.
-
Navigate to Advanced Options > Date and Time.
-
Set your timezone.
Step 16: Set the screen’s timezone
-
Using the remote control, press the home key.
-
Navigate to Advanced Options > Date and Time.
-
Set your timezone.
Step 17: Set Power Save
-
Using the remote control, press the home key.
-
Navigate to Advanced Options > Power Save.
-
Set your Power Save to Mode 4.
Step 18: Home App
-
Turn OFF the TV, then ON
-
This menu should appear
-
Choose sonopto.signage app as Home App
-
Press on Always
Step 19: Display Hash
-
Wait for a few seconds until the screen ID shows as below
-
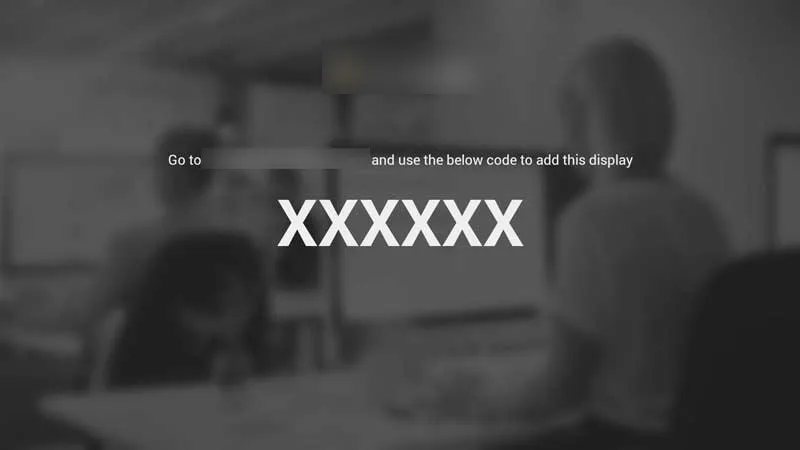
Use the displayed hash (screen ID) to register the display on your CMS web portal.